
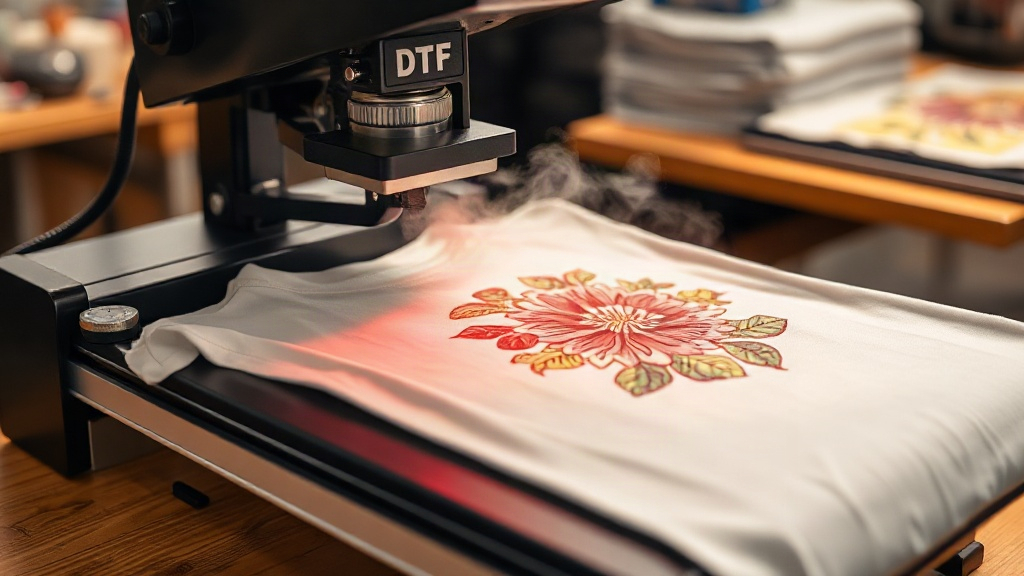
If you've been exploring custom apparel printing, you've likely heard about DTF transfers. This game-changing technology is taking the industry by storm, offering vibrant colors and incredible detail on a wide range of fabrics. Whether you're a small business owner, a crafting enthusiast, or just curious about the latest printing trends, understanding DTF transfers can open up a world of creative possibilities. In this guide, we'll walk you through everything you need to know to get started with DTF printing, from the basics to pro tips for flawless results.
What Are DTF Transfers?
DTF stands for Direct-to-Film. It's a printing method where your design is printed onto a special PET film using a DTF printer and then coated with a hot-melt adhesive powder. Once the powder is melted, the transfer is ready to be applied to fabric using a heat press. Unlike DTG (Direct-to-Garment) printing, which prints directly onto the garment, DTF transfers allow you to print on a wide variety of materials, including cotton, polyester, blends, and even some non-fabric items like canvas and leather.
The process is relatively simple: print, powder, cure, and press. But the magic lies in the results: DTF transfers produce bright, opaque colors that pop on both light and dark garments, and they stretch with the fabric without cracking. This makes them ideal for high-stretch materials like spandex and athletic wear.
Why Choose DTF Transfers Over Other Methods?
You might be wondering how DTF compares to more traditional methods like screen printing or vinyl. Here's why many professionals are switching to DTF:
- No color limitations: DTF printers use CMYK plus white ink, so you can print full-color, photographic designs without the need for separate screens or layers.
- Works on almost any fabric: From 100% cotton to 100% polyester and everything in between, DTF adheres well and feels soft.
- Durability: When applied correctly, DTF transfers withstand repeated washing without fading or peeling.
- Cost-effective for small batches: Unlike screen printing, there are no setup fees, making DTF perfect for one-off designs or small orders.
- Stretch and flexibility: The transfer moves with the fabric, so it's great for performance wear.
However, DTF isn't without its nuances. Getting a flawless transfer requires attention to detail in both printing and application. Let's dive into the steps.
How to Apply DTF Transfers: A Step-by-Step Guide
Applying DTF transfers is straightforward, but following the correct process is key to achieving a professional finish. Here's what you need:
- A heat press (or an iron with adjustable temperature, though a heat press is recommended)
- Your DTF transfer
- The garment or fabric item
- Heat-resistant tape (optional, for holding the transfer in place)
- Parchment paper or a Teflon sheet
Step 1: Preheat Your Heat Press
Set your heat press to the temperature recommended by your transfer supplier. Typically, this ranges from 300°F to 340°F (150°C to 170°C). Allow the press to fully heat up. Preheating the garment for a few seconds can also help remove moisture and wrinkles.
Step 2: Position the Transfer
Place your garment on the press. Position the DTF transfer with the printed side facing up (the design should be readable). If needed, use heat-resistant tape to secure it in place. Cover the transfer with parchment paper or a Teflon sheet to protect the press and the transfer.
Step 3: Press
Apply medium to firm pressure for 10-15 seconds. The exact time can vary based on your press and transfer, so always check the instructions. After pressing, peel the film while it's still hot (hot peel) or let it cool completely (cold peel) depending on the film type. Most DTF transfers are hot peel, but confirm with your supplier.
Step 4: Post-Press (Optional)
For added durability, you can cover the design with parchment paper and press again for another 5-10 seconds. This helps the adhesive fully bond with the fabric.
Common Mistakes to Avoid with DTF Transfers
Even with a simple process, things can go wrong. Here are some pitfalls to watch out for:
- Insufficient pressure: If the pressure is too low, the transfer won't adhere properly, leading to peeling. Adjust your press to medium-firm pressure.
- Wrong temperature: Too hot and the film may melt or the design may scorch; too cold and the adhesive won't activate. Always follow the recommended settings.
- Peeling too early or too late: If you peel too soon, the design may lift; if you wait too long on a hot peel, the adhesive may set and make peeling difficult. Practice on a scrap piece first.
- Not pre-pressing the garment: Moisture and wrinkles can cause poor adhesion. Always pre-press for 5-10 seconds.
- Using the wrong film: Different DTF films have different peel types (hot vs. cold). Make sure you know which one you have.
DTF Transfers on Different Fabrics: What to Expect
One of the biggest advantages of DTF is its versatility. Here's how it performs on common materials:
- Cotton: Excellent. The design sits on top of the fabric, so it feels slightly raised but is very durable.
- Polyester: Great, but be cautious with heat settings. Polyester can scorch at high temperatures, so use a lower temp (around 280°F) and test first.
- Blends: Usually no issues. The stretchability of DTF handles the varying fiber content well.
- Nylon and spandex: DTF works, but these fabrics are heat-sensitive. Use low temperature and light pressure, and consider a cooling mat after pressing.
- Leather and canvas: Possible, but test on a small area first. Leather can be tricky due to its texture and heat sensitivity.
How to Care for DTF-Printed Garments
To ensure your DTF transfers last as long as the garment, follow these care tips:
- Wait at least 24 hours before washing.
- Turn the garment inside out.
- Wash in cold water on a gentle cycle.
- Do not use bleach or fabric softener.
- Tumble dry on low or hang to dry.
- Iron inside out, avoiding the printed area. If you must iron over the design, use a pressing cloth.
Frequently Asked Questions About DTF Transfers
Can I use a regular iron to apply DTF transfers?
While you can use a regular iron, it's not ideal. Irons don't provide consistent pressure and temperature, which can lead to uneven adhesion. A heat press is highly recommended for professional results.
How long do DTF transfers last?
With proper application and care, DTF transfers can last as long as the garment itself. They are known for their durability and resistance to cracking and fading.
Do DTF transfers work on dark colors?
Absolutely! DTF transfers include a white ink layer, so they show up vividly on both light and dark fabrics. This is one of their biggest advantages over other methods.
What's the difference between DTF and DTG?
DTG prints directly onto the garment, while DTF prints onto a film that is then transferred. DTF works on more fabric types and often produces more vibrant colors on dark shirts. DTG is typically limited to cotton fabrics.
Can I stretch DTF transfers?
Yes, DTF transfers are flexible and stretch with the fabric. They are a great choice for athletic wear and stretchy materials.
Final Thoughts
DTF transfers are a versatile and powerful tool for anyone in the custom apparel industry. With the right equipment and a bit of practice, you can achieve professional-quality prints that impress your customers and elevate your brand. Remember to follow the guidelines for temperature, pressure, and peeling, and always test on a scrap piece before pressing your final product. Happy printing!