
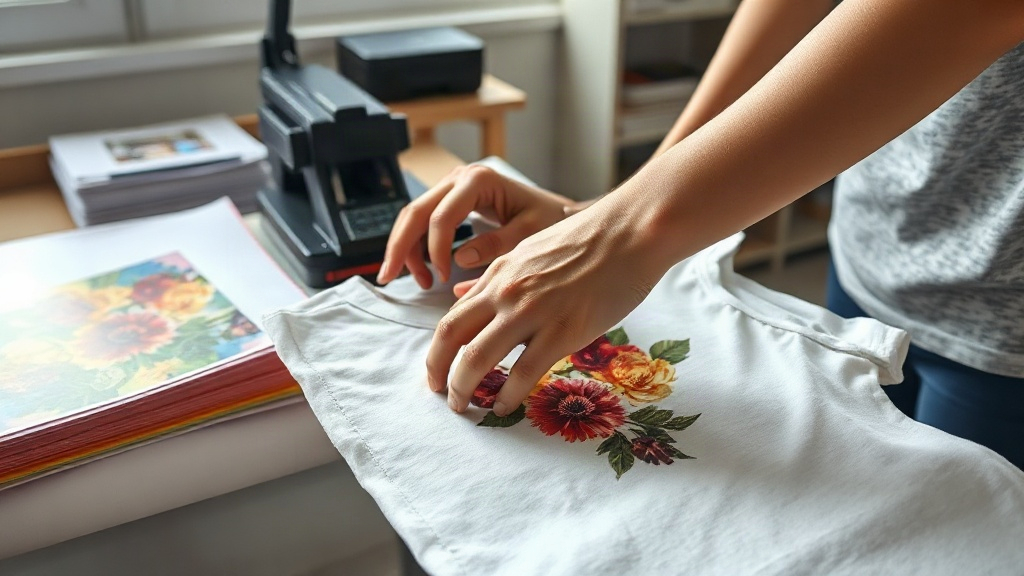
Imagine pressing a button and watching a full-color, intricately detailed design adhere to a cotton t-shirt in seconds, with no color limitations and no messy weeding. That's the promise of DTF transfers, a digital printing technology that has been rapidly gaining traction among crafters, small business owners, and DIY enthusiasts. Unlike traditional heat transfer vinyl (HTV) or screen printing, DTF (Direct to Film) transfers offer a streamlined workflow that lets you produce vibrant, durable designs on a wide range of fabrics with minimal equipment. In this guide, we'll walk you through everything you need to know to get started with DTF transfers, from understanding the basics to mastering application techniques.
What Are DTF Transfers?
DTF transfers are printed designs on a special PET film using a DTF printer. The process involves printing a design with water-based pigments onto the film, then applying a hot-melt adhesive powder to the wet ink. After the powder is cured, the transfer is ready to be heat-pressed onto a garment. The adhesive melts and bonds the ink to the fabric, creating a flexible, stretchable print that can withstand repeated washing. Because the design is printed digitally, you can achieve photographic detail and gradients without the setup costs of screen printing. And since the transfer is applied with heat and pressure, it works on cotton, polyester, blends, and even some treated nylon fabrics. This versatility makes DTF transfers a favorite for personalized gifts, team uniforms, and small-batch apparel lines.
Why Choose DTF Transfers Over Other Methods?
If you've experimented with HTV, you know the pain of weeding tiny letters and layering multiple colors. DTF eliminates that. You print the entire design in one go, powder it, and press it. No weeding, no masking, no layering. The result is a soft-hand print that stretches with the fabric, so it won't crack or peel easily. Compared to DTG (Direct to Garment), DTF often produces more vibrant colors on dark garments because the white ink layer is applied uniformly. Plus, DTF doesn't require pre-treating the shirt, saving time and mess. For those who want to offer custom apparel without investing in a full DTG or screen printing setup, DTF transfers are a cost-effective entry point. You can even order pre-printed transfers from a supplier and just apply them with a heat press, which is perfect for beginners.
Step-by-Step: Applying DTF Transfers
Applying a DTF transfer is straightforward, but following the right steps ensures a professional, long-lasting result. Here's what you need to do.
1. Gather Your Materials
- Heat press (or a home iron, though a press is recommended for even pressure)
- DTF transfer
- Garment (pre-washed if cotton to minimize shrinkage)
- Parchment paper or Teflon sheet
- Thermal tape (optional, for securing the transfer)
2. Preheat the Garment
Set your heat press to 325°F (160°C) for cotton or 300°F (150°C) for polyester. Pre-press the garment for 5-10 seconds to remove moisture and wrinkles. This step is crucial because moisture can interfere with adhesion. If you're using an iron, set it to the highest dry setting (no steam).
3. Position the Transfer
Place the DTF transfer face-down on the garment. If your transfer has a white backing, that's the side that goes against the fabric. Use thermal tape to hold it in place if needed. For precise placement, measure from the collar and center the design.
4. Press the Transfer
Apply medium to firm pressure for 15-20 seconds. The exact time can vary by transfer supplier, so always check their instructions. For a home iron, press firmly and move in slow circles for 30-40 seconds, focusing on edges. Avoid steam.
5. Peel the Film
DTF transfers are typically cold peel or warm peel. Most modern transfers are cold peel: wait until the film is completely cool to the touch, then peel it off in one smooth motion. If you peel too early, the design may stretch or lift. If you peel too late, it might crack. Test a corner first.
6. Post-Press for Durability
After peeling, cover the design with parchment paper and press again for 5-10 seconds. This second press ensures the adhesive fully bonds and smooths any texture. Then, turn the garment inside out and wash it after 24 hours to let the adhesive cure completely.
Common Mistakes to Avoid
Even with a simple process, a few missteps can ruin your transfer. Here are the most common issues and how to prevent them.
- Insufficient pressure: If the transfer doesn't stick, it's often because the pressure was too light. You need enough pressure to push the adhesive into the fabric fibers.
- Wrong temperature: Too hot and the film may melt or the design may scorch; too cold and the adhesive won't activate. Invest in an infrared thermometer to check your press's actual temperature.
- Peeling too soon: Patience is key. Let the transfer cool completely before peeling.
- Not pre-pressing: Moisture is the enemy of adhesion. Always pre-press to remove it.
- Using fabric softener: It coats the fibers and prevents the adhesive from bonding. Wash garments inside out with mild detergent and no softener.
Tips for Vibrant, Long-Lasting Prints
To get the most out of your DTF transfers, consider these expert tips. First, store unused transfers in a cool, dry place away from direct sunlight; they can last up to six months. Second, when printing your own transfers, use high-quality DTF ink and film, and ensure your printer is well-maintained. Third, for stretchy fabrics like spandex, use a stretchable DTF transfer and post-press with a stretchable cover sheet. Finally, test your settings on a scrap piece of fabric before pressing the final garment. Small adjustments in time, temperature, and pressure can make a big difference in durability and appearance.
Frequently Asked Questions
Can I use DTF transfers on dark colors?
Absolutely. DTF transfers include a white ink layer that makes colors pop on dark fabrics. Just ensure your design has enough white underbase, which your printer or supplier handles automatically.
How durable are DTF transfers after washing?
When applied correctly, DTF transfers can last 50+ washes. Wash inside out in cold water, tumble dry low, and avoid bleach and fabric softener to maximize longevity.
Do I need a special printer for DTF transfers?
Yes, DTF printing requires a dedicated DTF printer that uses pigment inks and prints onto PET film. However, you can also buy pre-printed transfers from suppliers and apply them with a heat press, which is ideal for beginners.
What fabrics work best with DTF transfers?
DTF works on cotton, polyester, blends, and even some nylons. It's not recommended for fabrics with a heavy coating or waterproof treatments, as the adhesive may not bond properly.
Can I layer DTF transfers?
Yes, you can layer DTF transfers, but it's best to press each layer separately. Apply the bottom layer, peel, then apply the next layer on top. Use a lower temperature for subsequent layers to avoid disturbing the first.