
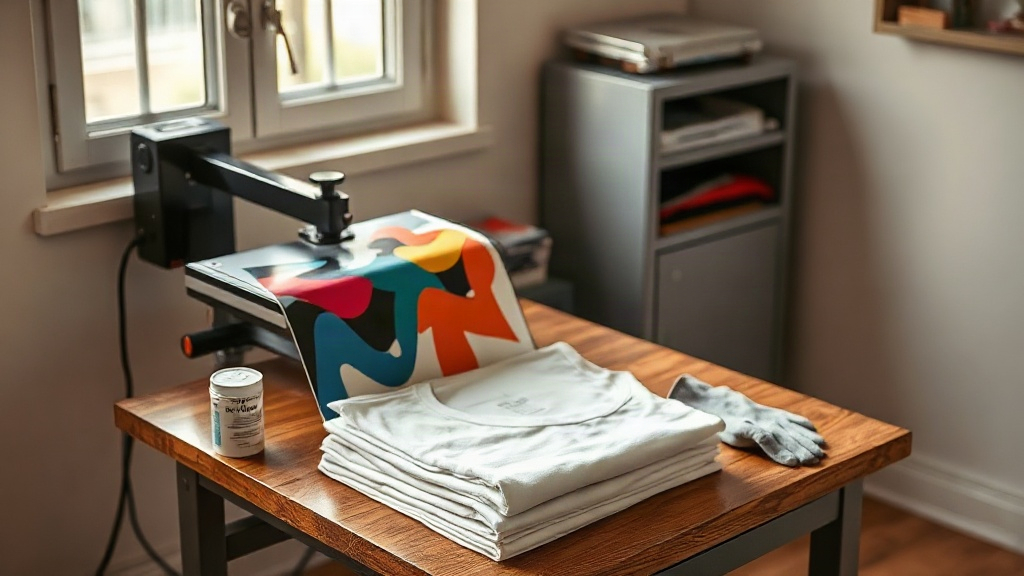
If you have ever priced out custom t-shirts for a small run, you already know the pain. Screen printing wants volume, vinyl wants patience, and sublimation wants polyester. DTF transfers sit in a different spot: they let you print a full-color, highly detailed design once, then apply it to cotton, blends, and even some synthetics with nothing more than a heat press. That flexibility is why so many small apparel brands, print shops, and hobbyists have moved toward them in the last few years.
But there is a gap between watching a demo video and getting a transfer that survives twenty washes without cracking. This guide covers the parts that actually decide your results: how the film works, which fabrics behave, how to press correctly, and where people usually go wrong.
What a DTF Transfer Actually Is
A DTF transfer is a printed design on a special PET film, coated with a thermoplastic adhesive powder. You print with pigment inks onto the film, sprinkle or machine-apply hot melt powder while the ink is still wet, then cure the whole sheet. The result is a flexible, stretchable decal that you store flat and press onto fabric when you need it.
The key difference from other methods is the order of operations. With vinyl, you cut and weed. With screen printing, you burn screens and mix plastisol. With DTF, the printing happens ahead of time, and the application is just heat and pressure. That decoupling is what makes short runs and one-off custom orders practical.
Why the Powder Matters More Than People Think
The adhesive powder is the part most beginners underestimate. Too little powder and the transfer peels at the edges after a few washes. Too much and you get a stiff, plastic-feeling patch with visible texture. The sweet spot is a thin, even layer that sticks to the wet ink but does not clump.
If you are buying pre-made transfers from a supplier, this is already handled. If you are producing your own, invest in a shaker with a fine mesh and a curing oven or a dedicated powder-curing setup rather than trying to guess with a heat gun.
Which Fabrics Work Best
One of the biggest selling points of DTF transfers is fabric range. Unlike sublimation, which needs a high polyester content to bond properly, DTF adheres to cotton, cotton-poly blends, canvas, and many synthetics.
- 100% cotton: Excellent results. The adhesive grips well and the print stays soft.
- Cotton-poly blends: Very reliable, often the most common choice for retail apparel.
- Polyester: Works, but you need to lower your press temperature. High heat can scorch or dye-migrate, especially on bright colors.
- Nylon and treated synthetics: Possible, but test first. Some coatings repel the adhesive.
- Canvas and totes: Great for flat, textured surfaces as long as you can get even pressure.
What you cannot do is apply DTF to already-finished garments with a waterproof coating, or to fabrics that cannot take heat. That rules out most rain jackets and some performance wear.
The Polyester Trap
Polyester and dye migration are a real problem. When you heat a dyed polyester garment, the dye can sublimate and bleed through a light-colored print, turning a white design pink or grey over time. If you print on polyester, use a transfer with a blocking layer or a low-bleed adhesive, and keep your press temperature at the lower end of the recommended range.
How to Press DTF Transfers Correctly
Application is where most failures happen. The transfer itself might be perfect, but a rushed press will ruin it. Here is a sequence that works for most cotton and blend garments.
- Pre-press the garment. Ten to fifteen seconds to remove moisture and wrinkles. Skipping this is the number one cause of poor adhesion.
- Position the transfer. Place it adhesive-side down. If you are using a film with a carrier sheet, the printed side faces up.
- Press with medium-heavy pressure. Typical settings are around 300 to 320°F (150 to 160°C) for 10 to 15 seconds. Polyester should be lower, around 280°F.
- Peel correctly. Most DTF films are cold peel or warm peel. Check your supplier's instructions. Cold peel means wait until the transfer is fully cool before removing the film.
- Post-press if needed. A second short press with a cover sheet can improve durability and smooth out any texture.
Pressure is the variable people ignore. A press that is not clamping evenly will give you a transfer that sticks in the middle and lifts at the corners. If you are doing volume, check your press with a pressure gauge or a simple test: press a piece of paper and see if the impression is uniform.
Cold Peel vs Warm Peel
Warm peel is faster and works well for many standard films, but it can stretch the design if you pull too hard. Cold peel takes longer but gives a cleaner edge and less distortion. If you are new to DTF transfers, start with cold peel until you have a feel for the material.
Durability: What to Expect and How to Improve It
A well-applied DTF transfer on cotton will typically outlast the garment itself if it is washed and dried properly. The adhesive is strong, the ink is flexible, and the print does not crack the way cheap vinyl does.
To get the most life out of your prints, follow a few simple rules:
- Wash inside out in cold water.
- Avoid fabric softener, which can break down the adhesive over time.
- Tumble dry low or hang dry.
- Do not iron directly over the print.
None of these are complicated, but they matter. A transfer that fails after five washes is almost always a pressing problem, not a washing problem.
Common Mistakes and How to Avoid Them
After working with DTF transfers for a while, you start to notice the same issues coming up. Here are the ones worth fixing early.
Not Pre-Pressing the Garment
Moisture in the fabric turns to steam under the press and creates a barrier between the adhesive and the fibers. Always pre-press, even if the shirt looks dry.
Inconsistent Pressure
If your press has a worn platen or uneven clamp, you will get inconsistent results across the same order. Test your press regularly and adjust.
Peeling Too Soon
If you are using a cold-peel film and you peel while it is still hot, the design can stretch or lift. Wait. The extra minute is worth it.
Storing Transfers Poorly
Keep unused transfers flat, dry, and away from direct sunlight. Humidity can soften the powder and cause clumping, which shows up as a rough texture on the final print.
Frequently Asked Questions
Can I use DTF transfers on dark colors?
Yes. Unlike sublimation, DTF prints a white underlayer automatically, so bright colors show up clearly on black, navy, and other dark fabrics. You do not need a separate white ink step.
How long do DTF transfers last on a shirt?
With correct application and normal washing, most transfers last the life of the garment. Expect at least 30 to 50 washes without noticeable fading or cracking if you avoid high heat and fabric softener.
Do I need a special printer for DTF transfers?
You need a printer with a DTF ink set, usually CMYK plus white, and a film that accepts pigment ink. Many people start by ordering pre-printed transfers from a supplier before investing in their own setup.
What temperature should I press DTF transfers at?
For cotton, 300 to 320°F for 10 to 15 seconds is a good starting point. For polyester, drop to around 280°F to reduce dye migration and scorching. Always follow your film supplier's recommendation first.
Can DTF transfers be stretched?
They have some stretch, which makes them suitable for t-shirts and athletic wear, but they are not as elastic as the fabric itself. Avoid placing large transfers directly over high-stretch areas if you want the longest life.